Garden Gate
06-06-2009
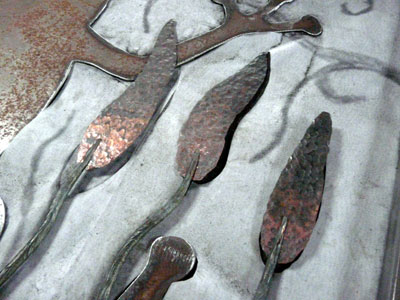
The copper leaves remain unattached to the steel vines. I will not attach them permanently until I have all the other pieces welded together, allowing for repositioning. Here, I am still pondering the application of a patinia solution that will lend some slight green highlights to the copper. This effect is often seen on copper that has been exposed to the elements for many years.
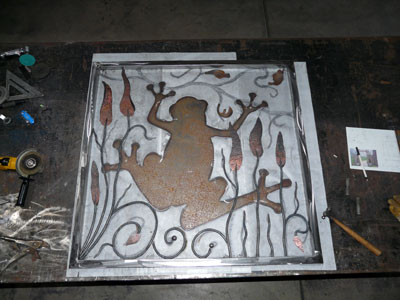
A shot of the work bench area again. I keep a picture of the point of installation for the garden gate nearby (in this photo - under the pen on the right). This helps me maintain a visual perspective of what the finished garden gate might look like when installed at the client's residence. It also helps with the "handing" of the gate (or direction the gate will swing).
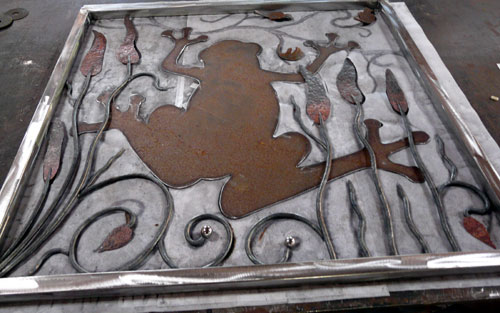
I now have many of the pieces cut, drawn, radiused and set into position. The next step will be to begin welding all of the pieces together. I will tackle the upper vine after having completed the welding. I will use a slightly larger bar stock having a heavy hammered texture for the upper vine. I would like to create the feel that this vine or branch is of a different species. You will also notice that I did indeed scrap my idea of using the forged leaves near the bottom of the garden gate, and instead, I fabricated two more copper leaves. The forged leaves will attach on the upper branch.
More to come soon!